The presence of duplicate files has always been a big pain in the neck among computer users. And the same holds true for similar images, images that bear a strikingly close resemblance to each other but aren’t identical enough to be categorized as duplicates. Both of these issues result in the user facing the same kind of consequences. The hard disk gets filled up with data that is of no use, the Internet bandwidth gets wasted for no good, there is a whole lot of clutter and organizing the data becomes a lot harder than before.
This is why there are numerous software solutions available in the market to take care of such irritants. This article demonstrates how to categorize visually similar photos in the file system in terms of the image resolution. We will be using PictureEcho to do the needful.
Solution
We will be making intelligent use of File Explorer/ Windows Explorer a well as PictureEcho to achieve our objective of detecting visually similar images by their image resolution.
-
- First of all, locate the folder where any similar images are present. In Windows, the pictures are usually stored in the Pictures folder.
- In the search bar, type the respective Query Syntax to search for photos/ images under or overstated resolution. The following syntax searches for pictures that are under 1000px for width and less than 600px for height. Some examples are provided in the following lines to help our readers develop a fair bit of the understanding of the syntax.
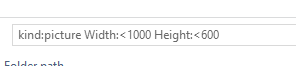
Syntax example > kind:picture Width:1920 Height:1080 (Brings up images with a resolution of 1920px x 1080px)
> kind:picture Width:>1920 Height:>1080 (Brings up images that are over 1920px in width and more than 1080px in height)
> kind:picture Width:<1920 Height:<1080 (Brings up images that are less than 1920px in width and less than 1080px in height)
> kind:picture Width:>1920 Height:<1080 (Brings up images that are over 1920px in width and less than 1080px in height)
> kind:picture Width:<1920 Height:>1080 (Brings up images that are less than 1920px in width and over 1080px in height) - The search query fetches results pretty fast and displays them.
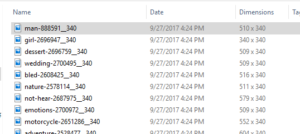
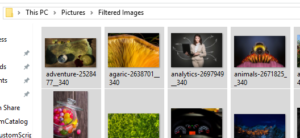
Search Results - Copy all the images that have been brought about in the search result to a separate folder.
- Download and install PictureEcho.
- Launch PictureEcho and add the path to the folder you just moved similar images to, via the Add Path button. Once the path has been added, it will show up in the user interface as shown in the screenshot below.
- Select Similar Match. Click Similarity Setting and then Level 4 | OK.
- Select the checkbox for Show preview and then click Start Search to initialize the scan.

Launching the scan - Once the scan is over, you’ll be provided with the results. Surprise yourself by peeking at the footer of the PictureEcho user interface and finding about the storage space lost to these similar images Select your desired option from the Select Duplicates button.
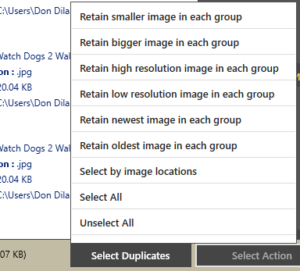
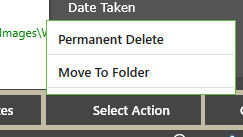
Selecting the ‘group’ to be retained - The final step involves clicking Select Action and deciding between complete removal or moving the subjects to a folder of your choice. If you want to delete the images completely, give a thought about backing them up before you delete them, as this might come extremely handy in the future.
- Once the chosen action has been performed, move all the remaining images to the original folder (mentioned in step # 1).

