Picture Echo is a reliable duplicate photo finder designed with a clean interface and accurate results. It helps clean duplicate photos, including professional RAW formats, making it a valuable tool for photographers and photo enthusiasts.
Getting Started
PictureEcho Duplicate Photo Finder is available on the Microsoft Store, Official Website, and is free to install on Windows 11 and MacOS.
Dashboard Overview
Upon opening the PictureEcho app, you will see the dashboard. On the left side, you can find different types of scans and tools the app offers:
- System Scan
- Library Scan
- Results
- Empty Folders
- Cloud Scan
- Settings
Part 1: System Scan – Finding and Removing Duplicates
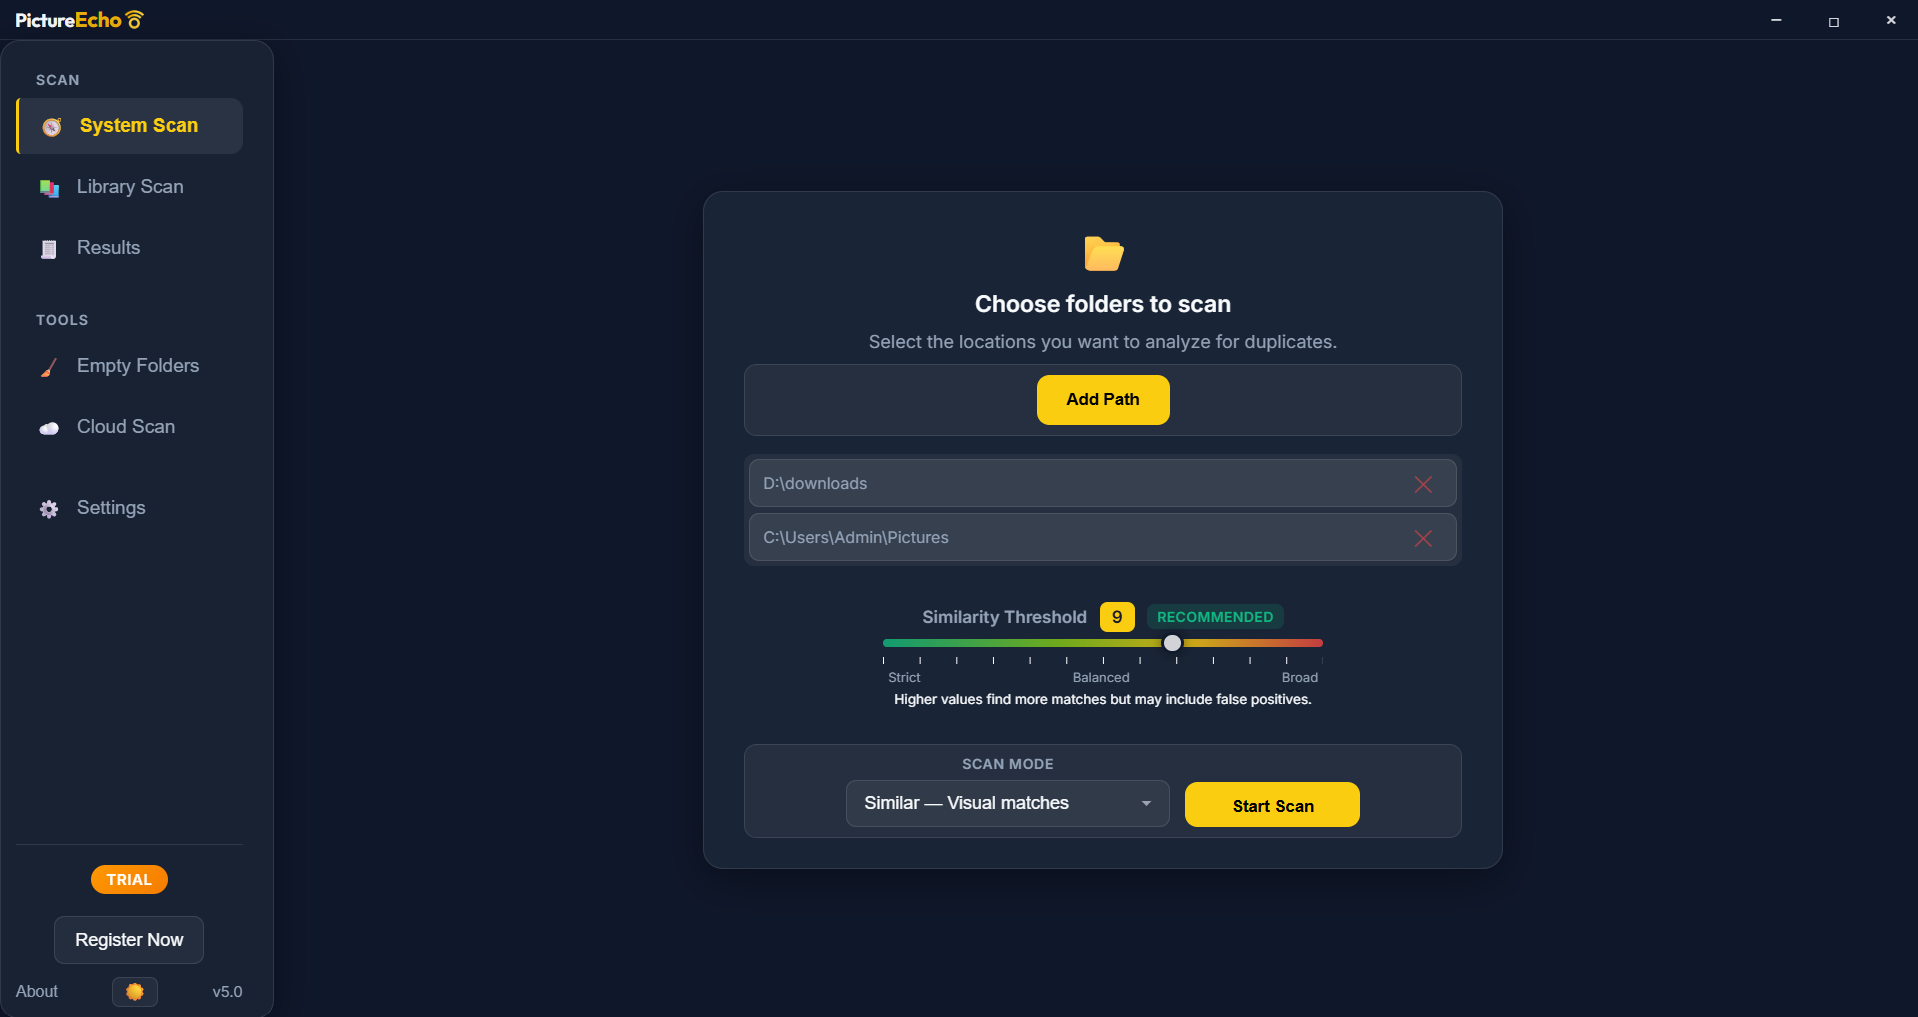
Step 1: Choose Folders to Scan
- Select “System Scan” from the left-hand menu.
- Choose your own folder(s) to scan photos from. You can add more than one folder.
Step 2: Select Scan Mode
There are two types of scan modes:
- Exact: If you choose this mode, the pictures found will be pixel-perfect duplicates, and you do not need to set a similarity threshold.
- Similar: If you choose this mode, you can decide your own similarity threshold, making it strict or broad. A recommended threshold is nine (9).
Step 3: Start the Scan
- Once folders are added and the scan mode is selected, start the scan.
- PictureEcho can scan both regular image formats and RAW photo formats visually, which is beneficial for managing large, detailed RAW files from DSLRs.
Step 4: Review Scan Results
- After PictureEcho has scanned your folders, the similar photos will be visually grouped together.
- Each group displays similar photos side-by-side with clear previews.
- You can zoom in on photos.
- You can adjust the display size of the previews to small, medium, large, and extra large.
- At the top of the results screen, you can see details like your scan time, scan type, chosen scan mode, and threshold.
- You can sort your photos by default space and the photo count within each group.
- The interface will show you how many photos were duplicated and how much space you can recover.
Step 5: Select Photos for Action
- Bulk Selection: You can select photos in bulk by criteria such as:
- Oldest
- Newest
- Largest
- Highest resolution
- Lowest resolution
- Individual Selection: Instead of bulk selection, you can also select your photos one by one.
- Group Selection: You can select all but one photo in a group.
- Once photos are selected, the bottom of the screen will show you how many groups were found, how many redundant photos were found, and how much wasted space you can save.
Step 6: Choose and Execute Action
- After selecting your photos, choose the action you want to perform:
- Move your photos to a different folder.
- Send them to the Recycle Bin.
- Permanently delete them.
- Select the desired action to proceed.
Part 2: Other Scan Types and Features
Library Scan
- In Library Scan, you can find duplicates within Lightroom, your photo albums, and other photo management apps.
Results
- The “Results” section allows you to see your last scan. If you accidentally close the app, you can return to this section to continue your work.
Empty Folders
- PictureEcho also provides the option to scan empty folders.
Cloud Scan
- For cloud scanning, you will need to get the Pro version of PictureEcho, which offers the companion app Cloud Duplicate Finder, which is the best Google Drive Duplicate Finder and also deduplicates your OneDrive, Dropbox, Box, and Amazon S3.
Settings
- In the “Settings” section, you can view your action history and check for available updates.
Conclusion
PictureEcho is a duplicate photo finder capable of handling RAW photo formats, making it a comprehensive solution for managing your photo collection.

